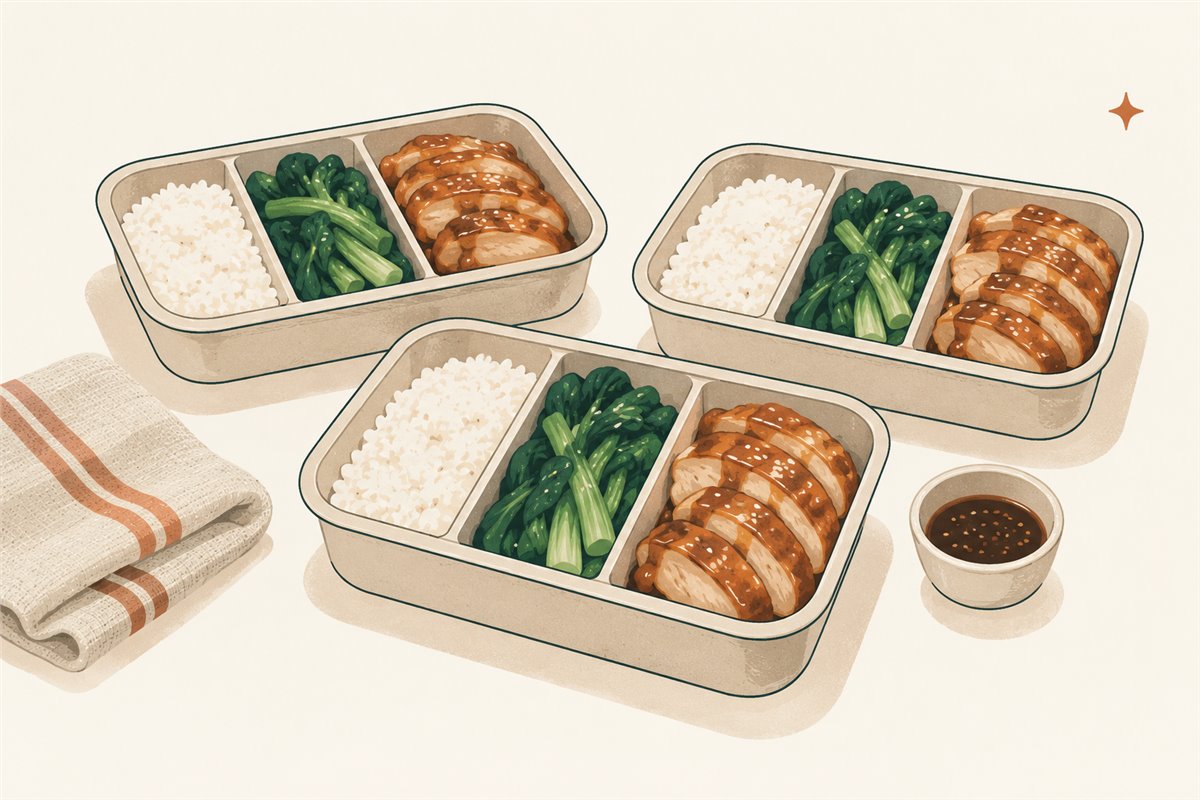
Learning how to meal prep international dishes for the week is less about cooking seven finished dinners and more about controlling four things: batch size, storage time, recipe accuracy, and the final assembly. A pot of rice, a protein or legume dish, vegetables, and two well-chosen finishes can support several meals without pretending the same bowl belongs to a different cuisine each night.
The safest plan is not seven days of containers in the refrigerator. Most cooked leftovers have a three-to-four-day refrigerated window. Keep the next few meals cold, freeze later portions promptly, and use exact recipes for quantities, cooking temperatures, and any culturally specific dish name.
- Difficulty: Beginner
- Planning and prep time: About 2½ to 3 hours for a modest batch; the actual time comes from the recipes you select
- Result: Three or four refrigerated meals plus separately frozen later portions
- Evidence status: This is an evidence-based planning guide, not a Not Hard to Cook kitchen-tested meal plan
What you need before you start
- Two exact recipes that share some ingredients and state yield, timing, and storage guidance
- One food thermometer for any meat, poultry, seafood, or egg dish
- Clean shallow containers with tight-fitting lids
- Freezer-safe containers or bags for later portions
- Labels or tape and a marker
- Enough refrigerator and freezer space to allow cold air to circulate
- An insulated lunch bag and cold sources if a meal will travel without refrigeration
Check the appliance temperatures before scaling up. FoodSafety.gov advises keeping a refrigerator at 40°F/4°C or below and a freezer at 0°F/-18°C or below.
Quick overview
| Step | Action | Typical planning time |
|---|---|---|
| 1 | Choose four compatible components and two exact recipes | 20 minutes |
| 2 | Assign each portion to the refrigerator or freezer | 10 minutes |
| 3 | Cook in an order that separates raw and ready-to-eat food | Recipe-dependent |
| 4 | Cool in shallow containers, label, and store promptly | 20–30 minutes |
| 5 | Assemble and reheat one portion at a time | 5–15 minutes per meal |
The table is a workflow, not a guarantee that every menu fits a three-hour session. A dried-bean stew, braise, dumpling project, or slow-cooker recipe may require a different day or schedule.
Step 1: Plan four flexible components
Begin with two meals you would genuinely cook even without meal prep. Use their exact recipes to choose a small shared set:
- One starch: rice, noodles, potatoes, flatbread, or another recipe-supported base.
- One substantial component: a tested chicken, fish, tofu, egg, bean, or lentil preparation.
- Two vegetables: preferably with different textures or cooking methods.
- One or two finishes: a sauce, pickle, herb, acid, toasted seed, or other recipe-specific accent.
The finishes create variation, but they do not create authenticity. Soy sauce and sesame oil do not turn a generic bowl into a Cantonese, Japanese, or Korean dish. Tomato, cumin, or yogurt does not identify one country. When regional identity matters, follow a recipe that explains the dish and label your adaptation honestly.
Choose components with compatible uses but separate storage. A grain can sit beside roasted vegetables one day and under a tested stew another. Keep a crisp garnish, fresh herb, or sauce apart until serving so it does not soften the rest of the container.
If rice is one component, follow a method written for the exact grain and read the steamed-rice cooling and storage guidance. Do not increase a recipe solely because the pot can hold more; scale only when the recipe supports it and you have enough shallow containers and cold-storage space.
Tip: Start with three or four portions, not a tower of containers. A smaller first run reveals which textures and assemblies you will actually eat.
Warning: Do not use a planning table as a recipe. Raw protein, dried beans, rice, noodles, and sauces each need their own tested quantities and method.
Step 2: Assign every portion to the refrigerator or freezer
Write the storage plan before cooking. USDA leftovers guidance gives most cooked leftovers three to four days in the refrigerator. That means a Sunday prep should not automatically sit refrigerated through the following Saturday.
Use a simple calendar:
| Destination | What goes there | Label |
|---|---|---|
| Refrigerator | Portions planned within three to four days, subject to the exact food’s shorter limit | Name + prep date + use-by plan |
| Freezer | Later-week portions that the recipe identifies as suitable for freezing | Name + freeze date + thaw/reheat note |
| Fresh later | Delicate noodles, herbs, garnishes, or another quick item better prepared near serving | Shopping/prep reminder |
Freeze later portions on prep day after prompt cooling; do not wait until the edge of the refrigerated window to make the decision. Some components have shorter limits than general leftovers, so check the FoodSafety.gov cold-storage chart and product or recipe instructions.
Keep sauces in smaller separate containers when their storage guidance permits. This protects texture and lets each eater control the amount, but it does not make an allergen-safe meal. For allergy, celiac disease, or another medical restriction, use a dedicated safety plan rather than ordinary preference-based separation.
Success looks like: every cooked portion already has a dated container and a refrigerator, freezer, or later-prep destination.
Step 3: Cook in a safe, efficient order
FoodSafety.gov’s sequence is Clean, Separate, Cook, and Chill. Build efficiency inside those rules rather than moving raw and cooked food through the same tools.
Start with washed produce and ready-to-eat components when practical. Then handle raw meat, poultry, seafood, or eggs with their own board, plate, and utensils. Wash hands and food-contact surfaces with hot, soapy water after raw-food contact. Do not return cooked food to a plate that held it raw.
Cook each recipe to its documented endpoint. FoodSafety.gov’s temperature chart lists 165°F/74°C for poultry, 160°F/71°C for ground meats and egg dishes, and 145°F/63°C for fish. Whole cuts of beef, pork, veal, and lamb use 145°F/63°C plus a three-minute rest. Check the thickest portion without touching bone or the pan.
Parallel work is useful only when you can monitor it. A grain can cook while vegetables roast, but adding a third unfamiliar recipe may create missed timers or unsafe handling. Finish and clear a raw-protein task before assembling cooked portions.
Tip: Put labels on empty lids while food cooks. That is faster and less error-prone than identifying similar containers after they are cold.
Warning: A larger batch may heat and cool differently from the original recipe. Do not assume doubling preserves cooking time or doneness.
Step 4: Cool, portion, and label promptly
Do not leave the whole batch in a deep pot until it reaches room temperature. Divide food into small, shallow containers so heat can escape. USDA says hot food can go directly into the refrigerator; a large liquid batch can also be cooled more quickly in an ice or cold-water bath before storage.
FoodSafety.gov says to refrigerate perishable food within two hours, or one hour when it has been exposed to temperatures above 90°F/32°C. Keep the refrigerator at 40°F/4°C or below. Avoid packing it so tightly that cold air cannot move around the new containers.
Label each container with:
- the component or dish name;
- the date cooked;
- refrigerator or freezer destination;
- any allergen or cross-contact note required by the household; and
- the recipe’s thawing or reheating instruction.
Separate labels matter when two sauces or proteins look alike. They are an inventory tool, not proof that a food remained at a safe temperature. If you do not know how long a perishable container sat out, do not use smell or a taste as a safety test.
Success looks like: food is in shallow, dated containers within the time limit, and later-week portions are already freezing.
Step 5: Assemble, transport, and reheat one meal at a time
Keep the master components cold and remove only the portion you will use. Assemble a warm grain-and-vegetable plate, a bowl finished with a recipe-specific sauce, or a tested one-pot dish with a separately stored garnish. For a complete formula, use the one-pot weeknight meal guide to understand which substitutions change the method.
Reheat leftovers to 165°F/74°C. Stir dense food halfway through microwave heating, allow any directed standing time, and check more than one spot for cold areas. Add cool sauces or crisp garnishes after the hot component reaches its endpoint.
If a perishable meal travels without access to a refrigerator, USDA recommends an insulated soft-sided bag with at least two cold sources. Put the food in the workplace or school refrigerator on arrival when one is available.
Do not repeatedly warm and cool the full batch. Portion first, then heat one meal. This protects the unused food from unnecessary time outside cold storage and usually preserves texture better.
Freezing and thawing without unsafe shortcuts
Freezing is the bridge to the later part of the week, but it is not a promise that every component will taste unchanged. Emulsified sauces may separate. Crisp vegetables can soften. Noodles can absorb liquid. Use the recipe author’s freezing advice when texture matters.
USDA freezing guidance says food kept continuously at 0°F/-18°C remains safe indefinitely, while recommended freezer times address quality. Freezing does not destroy every microbe, so thawed food still needs safe handling.
Thaw in the refrigerator, in cold water using appropriate leakproof packaging, or in the microwave. Follow USDA’s immediate-cooking direction after cold-water or microwave thawing. Many cooked leftovers can be reheated from frozen, but use a method suited to the food and verify 165°F/74°C throughout.
Troubleshooting common meal-prep problems
The vegetables are watery
Likely cause: They were packed with steam trapped inside, mixed with sauce too early, or frozen despite poor texture after thawing.
Fix: Use shallow containers, store sauce separately, and choose a fresh or differently cooked vegetable next time. Safety timing still applies.
The grain is dry
Likely cause: Air exposure, an unsuitable reheating method, or a recipe that was not designed for storage.
Fix: Use a tight-fitting container and the recipe’s reheating direction. A small amount of water may help some grains, but it is not universal.
There is too much food for the refrigerator
Likely cause: Batch size was chosen before storage capacity.
Fix: Freeze appropriate portions promptly in a single layer and reduce the next batch. Do not leave containers on the counter while making space.
You cannot remember when a container was made
Likely cause: It was not labeled at portioning.
Fix: When time or temperature history is uncertain, discard it. Label empty lids before the next session.
Frequently asked questions
Can meal prep stay in the refrigerator for seven days?
Do not apply a seven-day rule. Most cooked leftovers are limited to three to four refrigerated days, and some foods have shorter guidance. Freeze later portions promptly or prepare them later.
Should hot food cool completely on the counter?
No. Divide it into shallow containers and refrigerate promptly. USDA says hot food can go directly into the refrigerator; very large liquid batches can use an ice or cold-water bath to speed cooling.
Can I freeze every sauce?
Not with equal quality. Follow the exact recipe’s instructions. Dairy, coconut, nut or seed emulsions, and starch-thickened sauces may separate or change texture.
Is cooked rice handled like any other dry pantry grain?
No. Once cooked, rice is perishable. Cool and refrigerate it promptly, follow the recipe’s storage limit, and reheat only the portion you will eat.
How do I adjust components for allergies or medical diets?
Do not rely on ordinary “sauce on the side” separation. Use the eater’s established ingredient and cross-contact requirements, read every label, and follow the recipe-adaptation safety guide.
Choose two exact recipes, assign every portion to a dated refrigerator or freezer slot, and prep only what that storage plan can support. Variety is useful; a safe handoff from stove to cold storage is what makes it repeatable.